Easter Kids Crafts:
Make A Personalized Paper Mache Basket
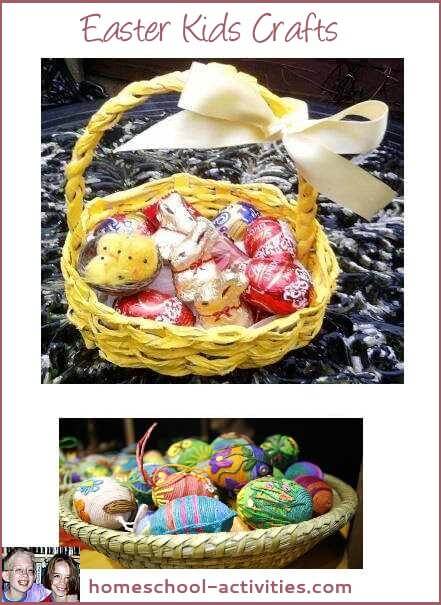
Easter kids crafts are fun, especially when you can make your own personalized basket to fill with beautiful things.
They make lovely gifts too!
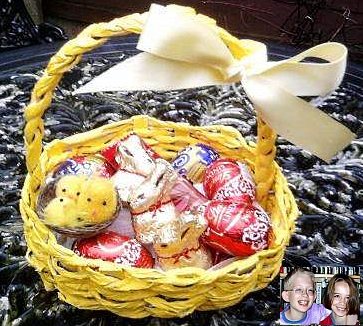
Many thanks to talented paper mache artists Annemarie and Karen van Wyk for letting me share how to make their beautiful personalized Easter egg basket.
Making an Easter egg basket is one of those lovely project for kids, especially when you can fill it with all your favorite things!
Although this idea can be a little fiddly and you may need to help a bit, you'll find this one of those fun ideas for kids which is actually very easy.
Your kids will love personalizing their basket.
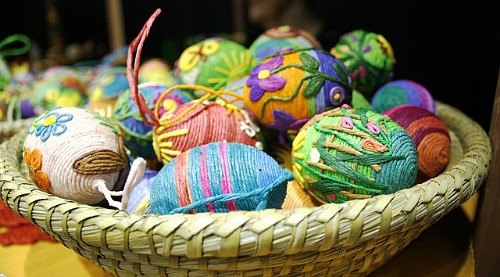
Chocolate eggs and bunnies are an obvious choice, but I saw these lovely homemade Easter eggs which would be just as tempting!
We've got lots of easy kids egg decorating ideas to make yours look just as beautiful.
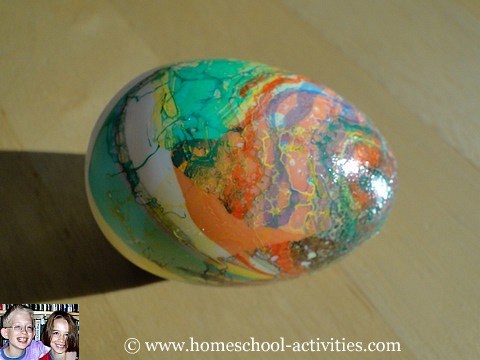
Our kids loved doing marbling in our homeschool and as you can see our eggs are simple to make and look amazing.
Paper Mache Easter Egg Basket
How To Make Your Basket
What you need:
- A piece of cardboard
- Something you can use to draw round which will give you the shape of your basket
- Newspaper torn into strips
- Paint and ribbon to decorate
- Tissue paper or paper kitchen towel to line your basket
- Chocolate eggs (optional!)
You'll also need our paper mache paste recipe!
You'll see we use a homeschool version for our projects which is just made from flour and water.
Annemarie and Karen did theirs by making a glue with white PVA diluted 1 part glue to 2 parts water.
How To Make Your Personalized Easter Basket
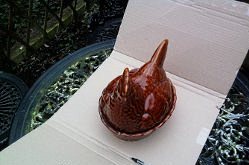
First, you'll need something to draw round. You can choose anything that is roughly oval in shape and about the size your kids choose for their personalized basket.
You could pick a ceramic hen as your model like Annemarie and Karen.
Put it on some cardboard and draw around it.
Don't cut it out yet and leave plenty of space around your base to make the supports for the sides.
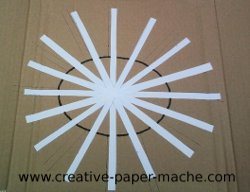
Creating the supports for the sides:
I think you'll need to help with this bit of your Easter kids crafts!
Cut strips of paper out
and lay them across in the pattern you can see in the picture. They are going to form the sides of your basket.
You'll probably find it easier to make the supports longer than you need them and then trim them to size.
Warning:
It might be a good idea to make sure you have an uneven number of supports as you'll find it helps when your kids start on the weaving stage.
Once you've planned where you're going to place the supports, cut out the shape of your basket from the cardboard.
Now's the fun bit! Your kids can paper mache the whole thing.
You don't need to paper mache the full length of the supports as you'll be cutting them down to size later.
Just keep on with the paper mache until you've reached a bit higher than you want your basket sides to go.
Weaving your Easter Egg Basket:
Let everything dry out before you start weaving so the paper is dry enough to touch without feeling sticky, but the cardboard underneath is still pliable.
Now you can start weaving!
Preparing the paper 'twigs':
'Twigs' is the word Annemarie and Karen use.
You make them by using a paintbrush to glue both sides of a newspaper strip.
Twist the newspaper between your fingers to form a sort of paper rope.
(You may have to keep giving it a twist as you work it round between your supports.)
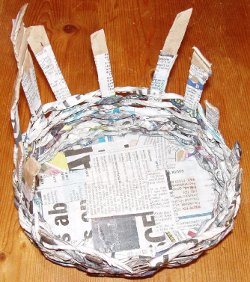
You can then start weaving. You can weave the paper in and out between the supports. Just keep threading in front of one, and then behind the next.
This can be a bit fiddly, but as you keep moving round the basket the twigs will start to hold the supports in the right place.
As you get to the end of a twig you can either twist the next one into the end of the one you've just woven with, or you can tuck the end in and begin the next one separately.
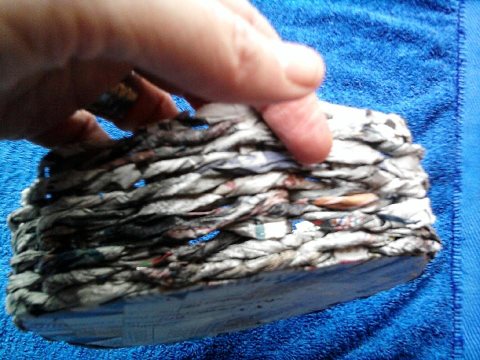
Keep on weaving until you think your basket is tall enough.
Then you can trim your supports and leave the basket to dry.
It should look like this:
Making the handle:
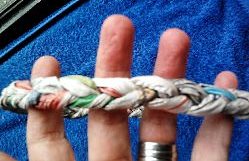
The handle is just three long strips of newspaper.
Paste them front and back and twist them into twigs.
You can then braid them together to form the handle, curve it into shape and leave it to dry.
Attaching your handle:
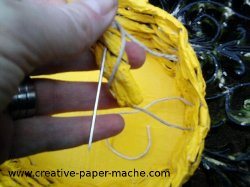
There's lots of ways to attach your handle, but Annemarie and Karen used string.
You can use a darning needle to thread the string through the weaving and through the handle, and then tie it in place with a secure knot.
Personalizing Your Easter Basket
Easter kids crafts are always better if you can do some painting!
When you've made your handle, you can paint your basket.
Annemarie and Karen used an acrylic yellow paint - choose whatever color you thinks looks best!
Now the really fun part.
How do you want to decorate your Easter basket?
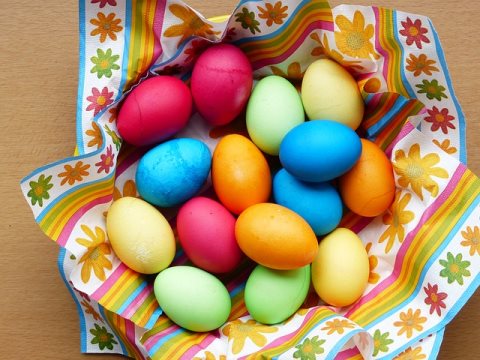
You could put a ribbon round the handle and make a cushion inside with scrunched up paper towel so you can sit beautiful colored eggs like these inside:
Easter Crafts Ideas
Pinterest is a great place to share Easter kids craft ideas:
Whatever you choose, your Easter kids crafts will make a lovely surprise!
Where Would You Like To Go Now?
You'll find lots more paper mache ideas on the pages below as well as some of my most popular homeschooling pages. Click on the pic to go to the page. Enjoy!
Homeschooling › Ideas › Easter Basket
"Just had a look through your monthly
newsletter focusing on math. Thanks so much for all the links and
ideas. It's brilliant!" ~ Diana
"Hi....I totally love all your posts and enjoy reading them....the kids love the activities and enjoy them through and through." ~ Bianka

Free Newsletter

Must-have Handbook
4 books in one: Bargain discount deal!
"With the education system failing so many brilliant
children it's great to be able to have resources like your website for
inspiration, ideas and just a sense of belonging. What you are doing for
your children is priceless." ~ Natalija
"I really appreciate your time and effort that goes into your posts... It's nice to see that you are a 2nd generation homeschooler." ~ Teresa
"Your newsletters & book have helped us through our journey. For that I can only thank you.
Please, please, please keep it up, people like you make our home school life so much easier." ~ Kelly
"I have joined paid sites that were not even one percent as great as
this site. Really amazing what you are doing and so so helpful thanks so much!" ~ Eli
